Here are some problems occurred when installing. He said he already have a Metra harness from a previous installation, and his truck is a 2004 Ford Excursion Limited. This item is universal style and comes with ISO harness, I'm worried Joseph will have questions about the connection, so I send him a instruction. He has problem when connect the backup camera and steering wheel control, but he solved them after read the instruction I sent. Finally, Joseph got everything working. However, the head unit can't start. It said android shutting down and then the unit will not power on. Joseph told me that he has checked all connections and all fuses. We can't make sure the cause of it, and ask Joseph help us check and test the unit, we need to know if there is any issue on our products.
How to test Joying android head unit:
We found there is no problem on Joying unit. Joseph said "I got it working finally. I had a blown fuse on the accessory wire."
Question from Joying Customer: My radio stopped working it froze and it wont do absolutely anything E-mail 1: Hello xx
This is Amy from Joying, we received your message for the product's issue. It mentioned "the radio stopped working it froze and wont do anything"
Could you send me some pictures or more detailed info about this issue? Because we are not clear about the meaning of "stopped working and froze" Does it mean froze in start logo or other?
Please don't worry, we will help you until the issue solved. Hope to hear from you soon. Best Regards, Amy E-mail 2: Hello Amy yes the problem is that when I turn on the radio it just stay's there in the start up logo and wont go any further or do anything else....... E-mail 3: Hello xx
Glad to receive your reply. It should have a problem in system, here are steps to solve it: 1. You need to get the update screen. 2. Choose recovery from backup 3. If this still can't solve it, please wipe all data/factory and cache reset, then re-download the system files, and update the system.
More detailed info: 1. You need to long press the power button after you put the key (if the head unit has been turn on, please turn off it first) 2. When you can see the button lights flash/change color, please loose your hand, then press power button again, you can get the screen for upgrade soon. (You can watch this video: https://youtu.be/vHyVC2Nb5oc) 3. You can get update screen now, please choose "recovery from backup" 4. If this issue can't be solved through recovery, please wipe all data/ factory and cache reset, then re-download the system files and update it, Please refer to this page https://www.carjoying.com/Joying-blog/12.html Please download the version of Aug 22, 2015 or Sep 3, 2015 5. You need to download joying android MCU and update files, then just copy Two file into SD card without any folder, insert it in GPS(map) Slot. 6. Choose update system/mcu image from sdcard and clear all.
If it's failed at the first time, please try more times again, and let me know the results. Thanks&Regards, Amy E-mail 4: Ok thanks let me try it E-mail 5: Great it worked thanks for everything E-mail 6: Hi xx
Thank you also for your support us, if the unit has anything wrong, please contact us again. Very pleased to serve you.
2. A Joying customer share a post to us, below is the copy, if you want to read the original article, please click here .
How-To: 2nd Gen 1.5 Din to Double Din Head Unit Conversion
This applies to 98-02 S-Series with the factory 1.5 Din head unit. I'd seen a few pics of this done but never really a thorough step-by-step description of the process, so I thought I'd throw this together for anyone interested. This actually isn't that difficult at all, there's minimal cutting involved, you just gotta have a little patience.
Materials Needed
- '03 and up Dash Bezel
- Metra '99-'03 GM Multi-kit (Any GM double din mounting kit should work though) Side Note: I'm told Schosche makes an S-Series double din kit that should bolt right up, maybe someone can confirm this?
- 5 minute epoxy glue
- A dremel, or your cutting tool of choice
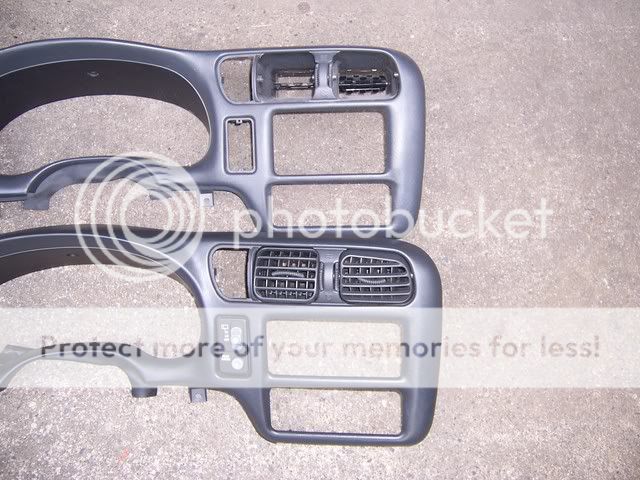
First of all, a comparison shot of the two different bezels, the top one is the guy you're looking for. Snap one up if you see it cause they can be tough to find!
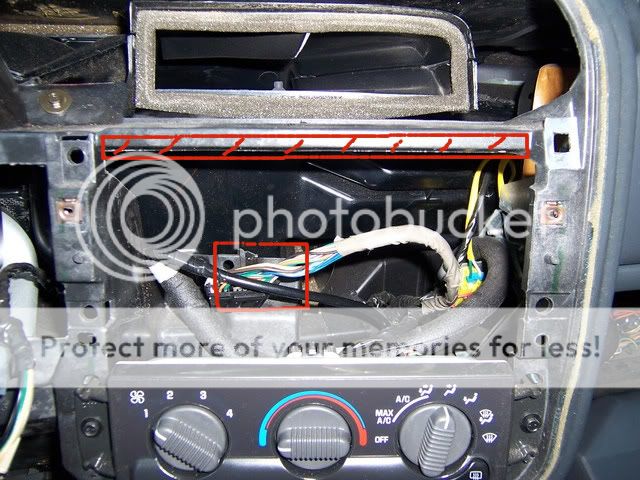
Now, once you've got everything out, you're going to need to do a little trimming. On top, you'll need to take about a quarter inch out of the plastic support piece, and then while I didn't get a great shot of it, you'll need to trim off the piece that supports the factory head unit. This will give you enough clearance to fit your double din unit.
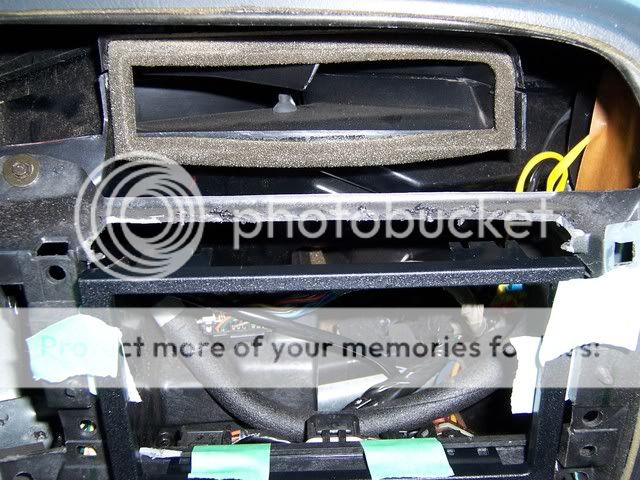
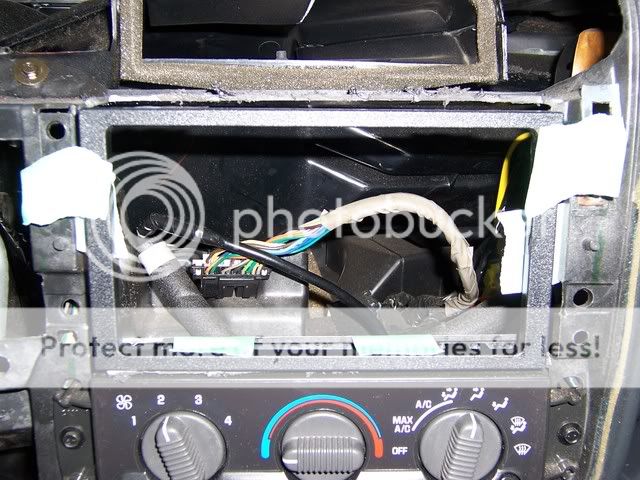
As it turns out, I took off waaay more than I needed to up top, but you get the idea. Now you're gonna have to fab up your own mounting brackets, so grab some masking tape, then take some time popping the new bezel on and off to figure out exactly where you want everything to sit. It'll make it easier to get some measurements that way too.
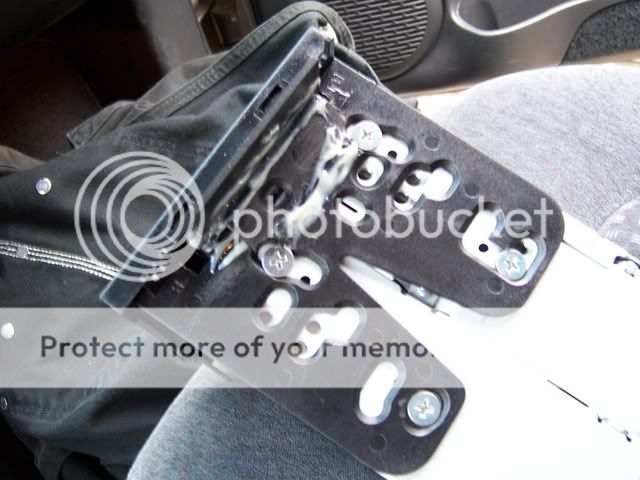
Now, you're gonna need to modify you're mounting kit a bit, you'll see what needs to be trimmed off when you test fit it. Then you'll need to fab up some ears where the kit will mount to the dash. I just cut up some extra pieces that came with the kit, but I'd reccommend using something a little bigger, as the pieces I used left you VERY little room to work with as you can see. This is also where your epoxy glue (or any high strength adhesive) comes in to play. This part will be holding a fair bit of weight, so don't be afraid to go nuts with it.
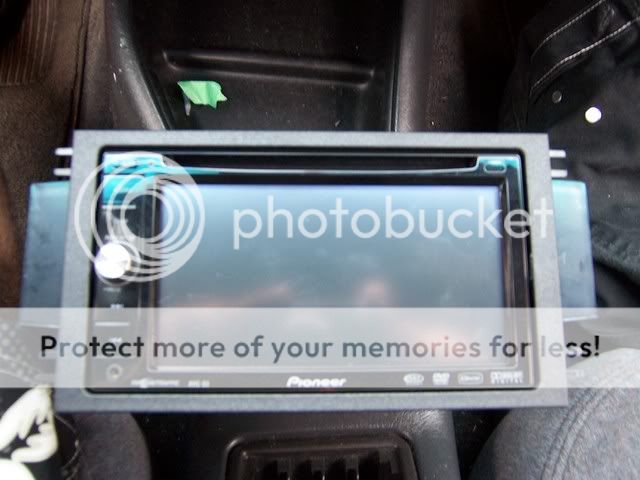
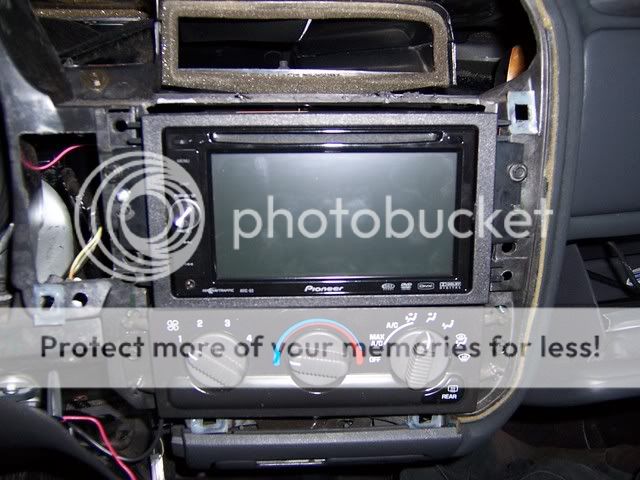
And there she is! I wasn't totally loving how little the left side screw was holding, so I popped in a self tapping screw just for extra support. I'll probably go back and re-do that part later.
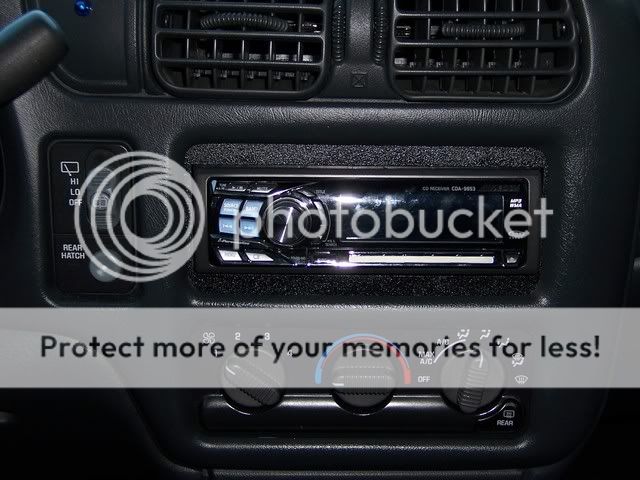
Before:
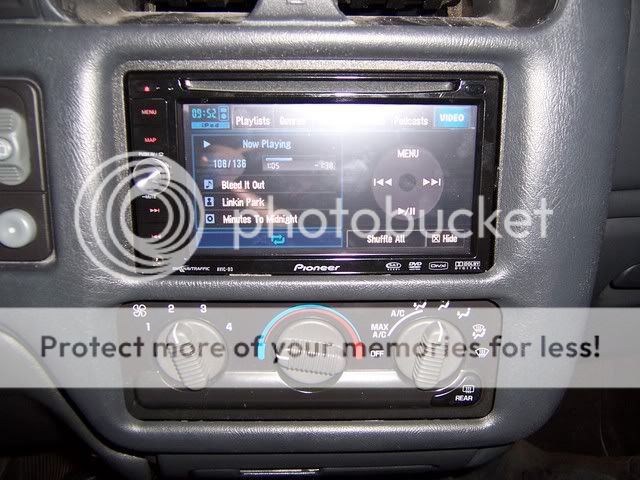
And After! It looks a little crooked because I didn't have the bezel totally buttoned up yet, but you get the idea.


QO3`H.png)